SR500 Restoration Project - Part 1
12 December 2025
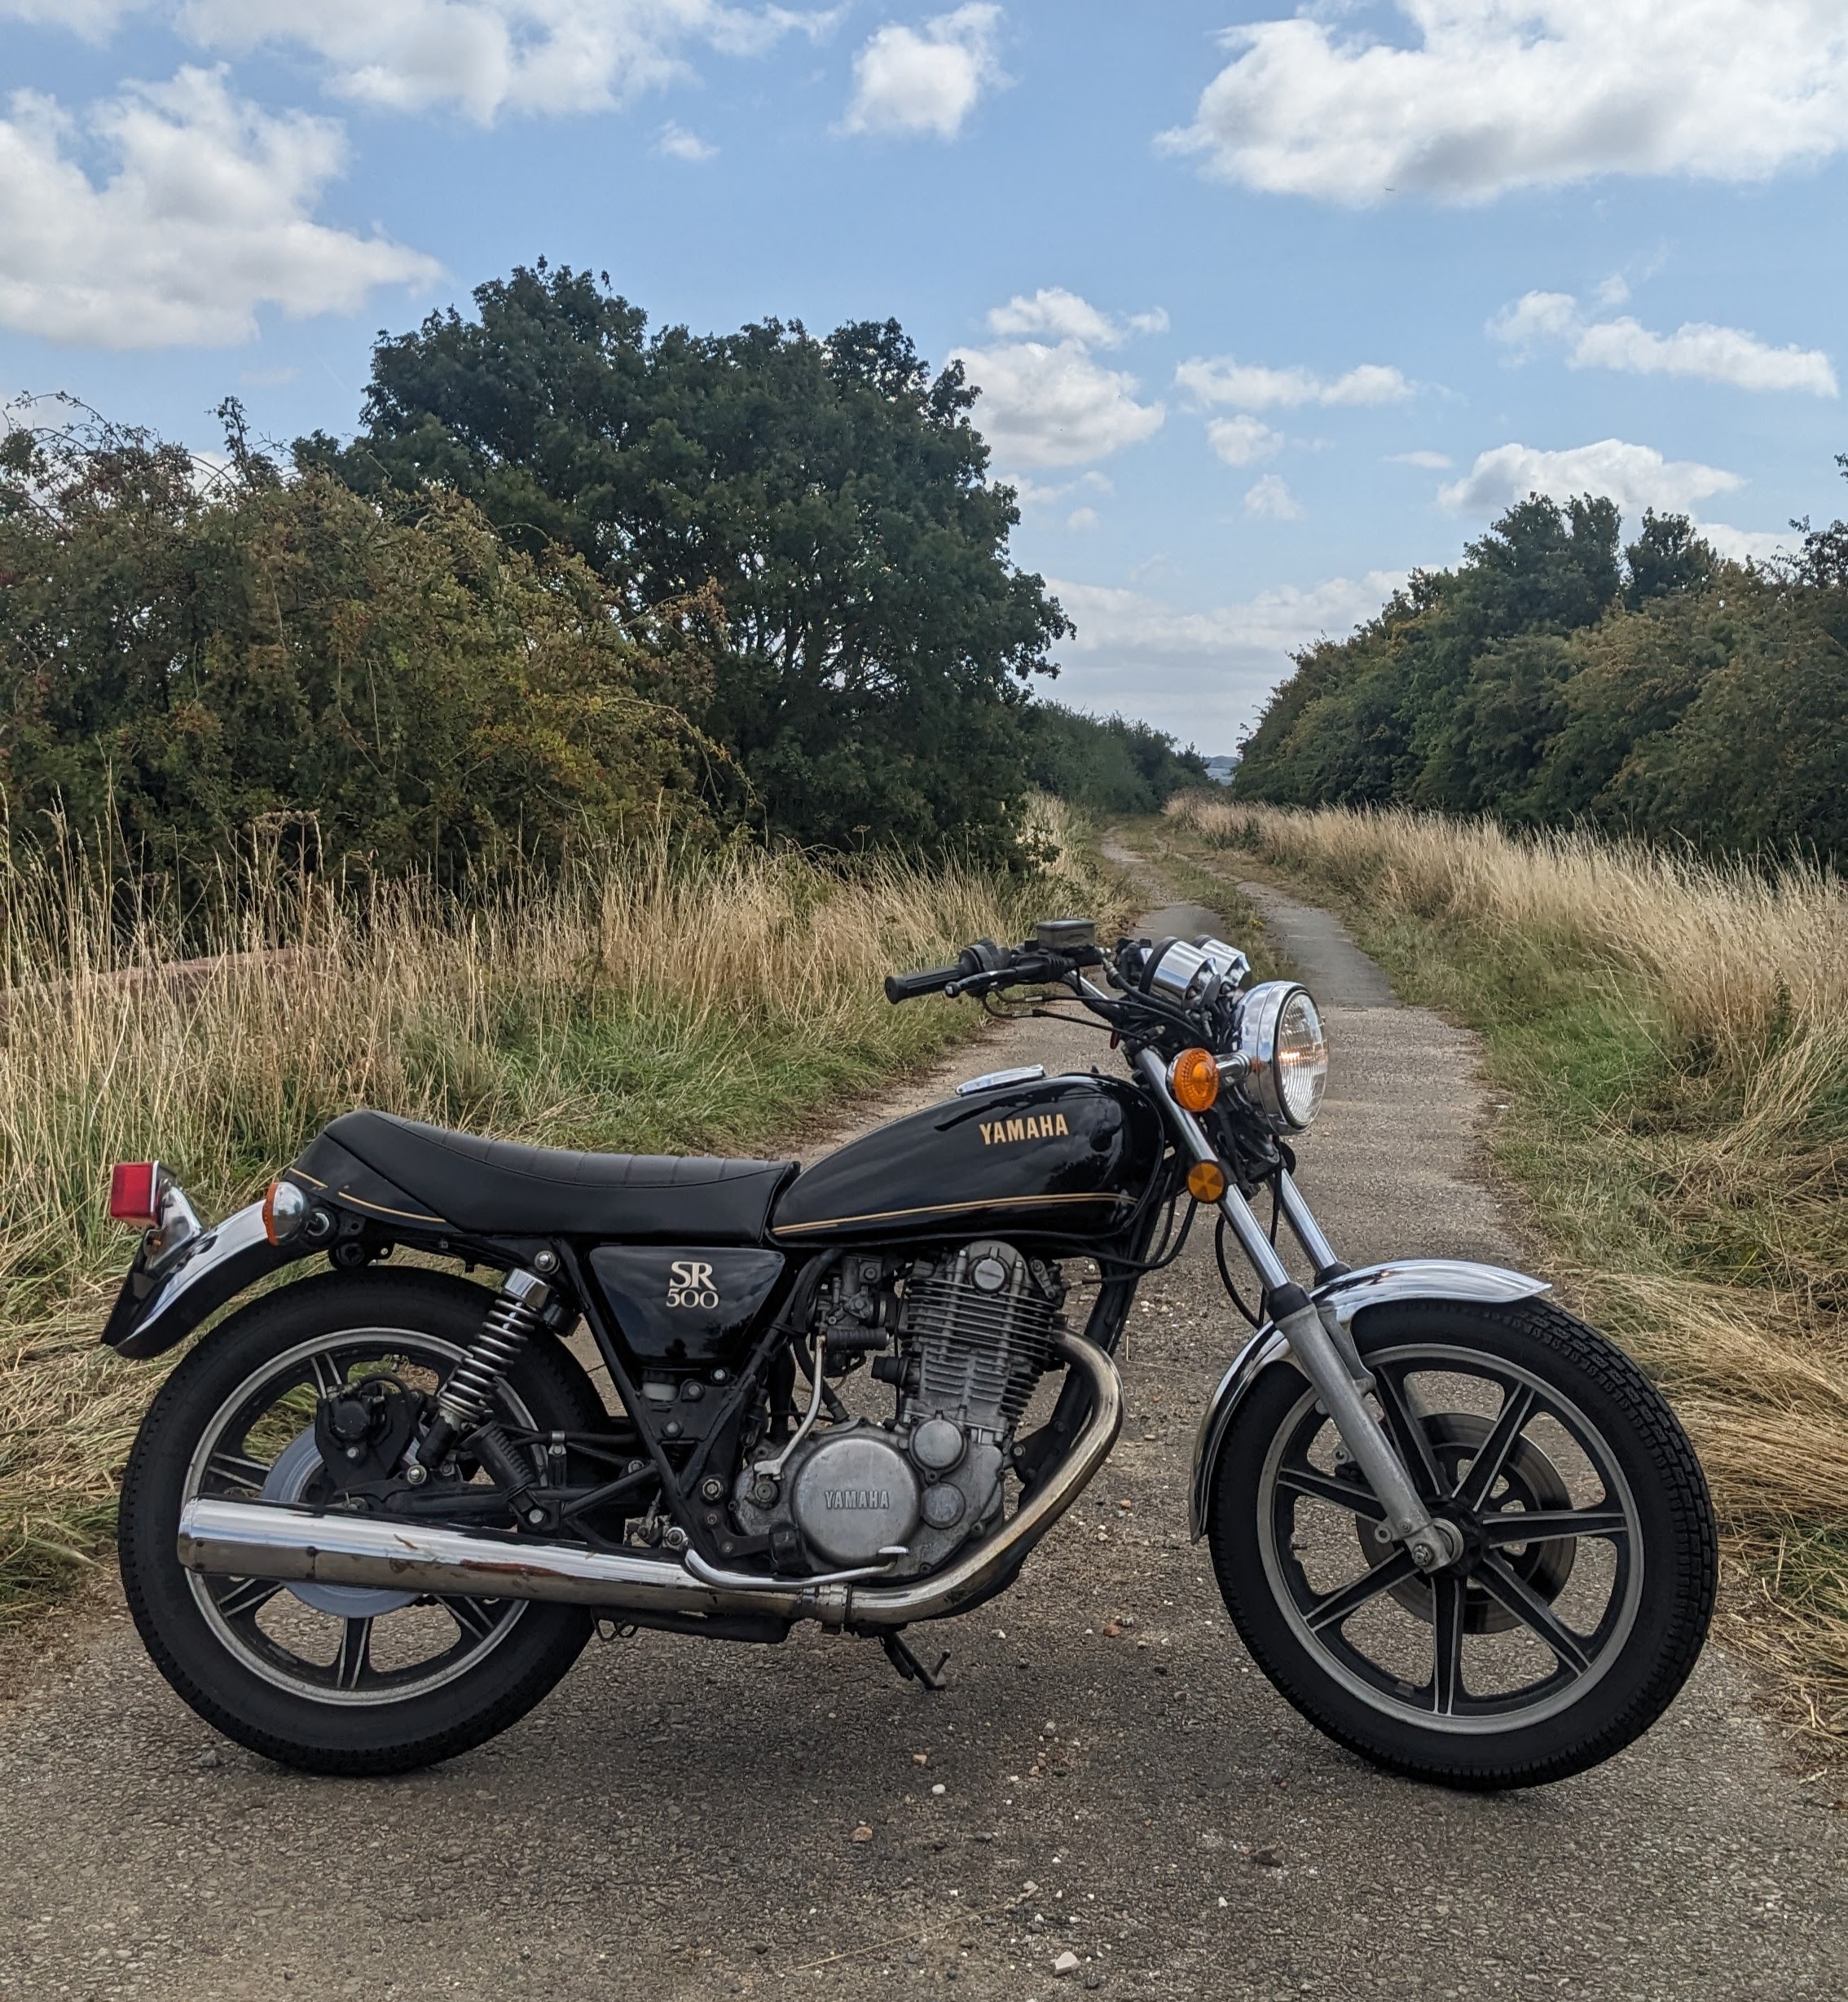
Here’s my 1978 Yamaha SR500, I somehow managed to get it for a shockingly low price considering its condition. It was imported from Washington State and even came with a Washington State University key fob as well as the last registered tax documents showing it was last on the road in 2004!. It also came with the original Yamaha toolkit which was a nice bonus.
It wasn’t in bad state at all when it came over, and after some new brake pads, an oil change, new battery and fresh petrol it fired up after a few kicks which if you’re farmiliar with this generation of bikes shouldn’t come as much surprise.
It was my first true road bike and even though it looked a bit tired, I spent all summer riding it and can absolutely see the appeal of the SR and how it became such a classic. It’s almost the complete opposite to the TT500 despite sharing a lot of the same DNA; It’s gearing is tall and it’s full of rubber dampers so it’s a very smooth ride, but surprisingly quick off the mark with it’s pumper carb setup. It’s a surprisingly heavy bike, but probably just because I’m used to lighter dual-sport bikes. It’s still easy enough to handle and push around but might be a struggle to get on the centre stand for some.
Riding it back from my favourite pubs and bars in the city late at night, over flyovers and through quiet streets, the thumping exhaust note echoing off the buildings is something special.
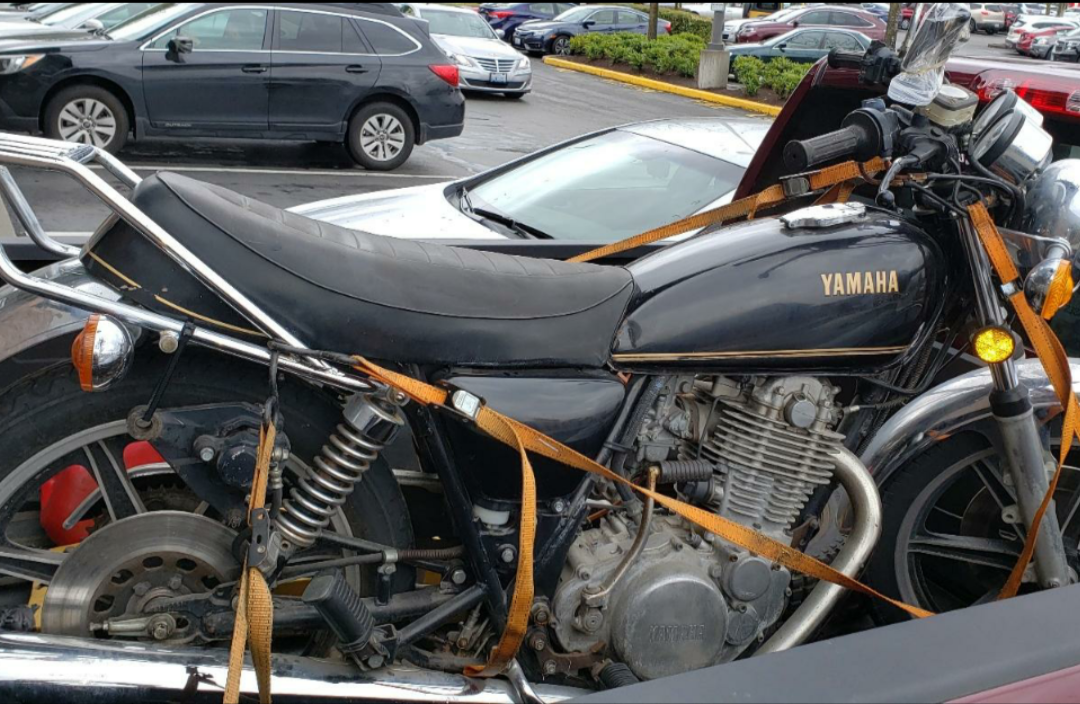
The TT500 project took over and I let the SR500 sit for a while, but recently I decided to give it a full restoration now winter is upon us and I’ve grown soft since my years riding my 250 in the dead of winter in jeans and a jacket.
You can see although it’s all there from a distance, closer inspection shows a good ammount of wear and tear, which you can expect from a nearly 50 year old bike that was more than likely a commuter with nearly 30,000 miles on the clock, I would have loved to known it’s history over in Washington State and what stories it might have to tell, or it could have just been a daily for a student or lecturer to get to university on, but that’s a secret that’s lost to time.
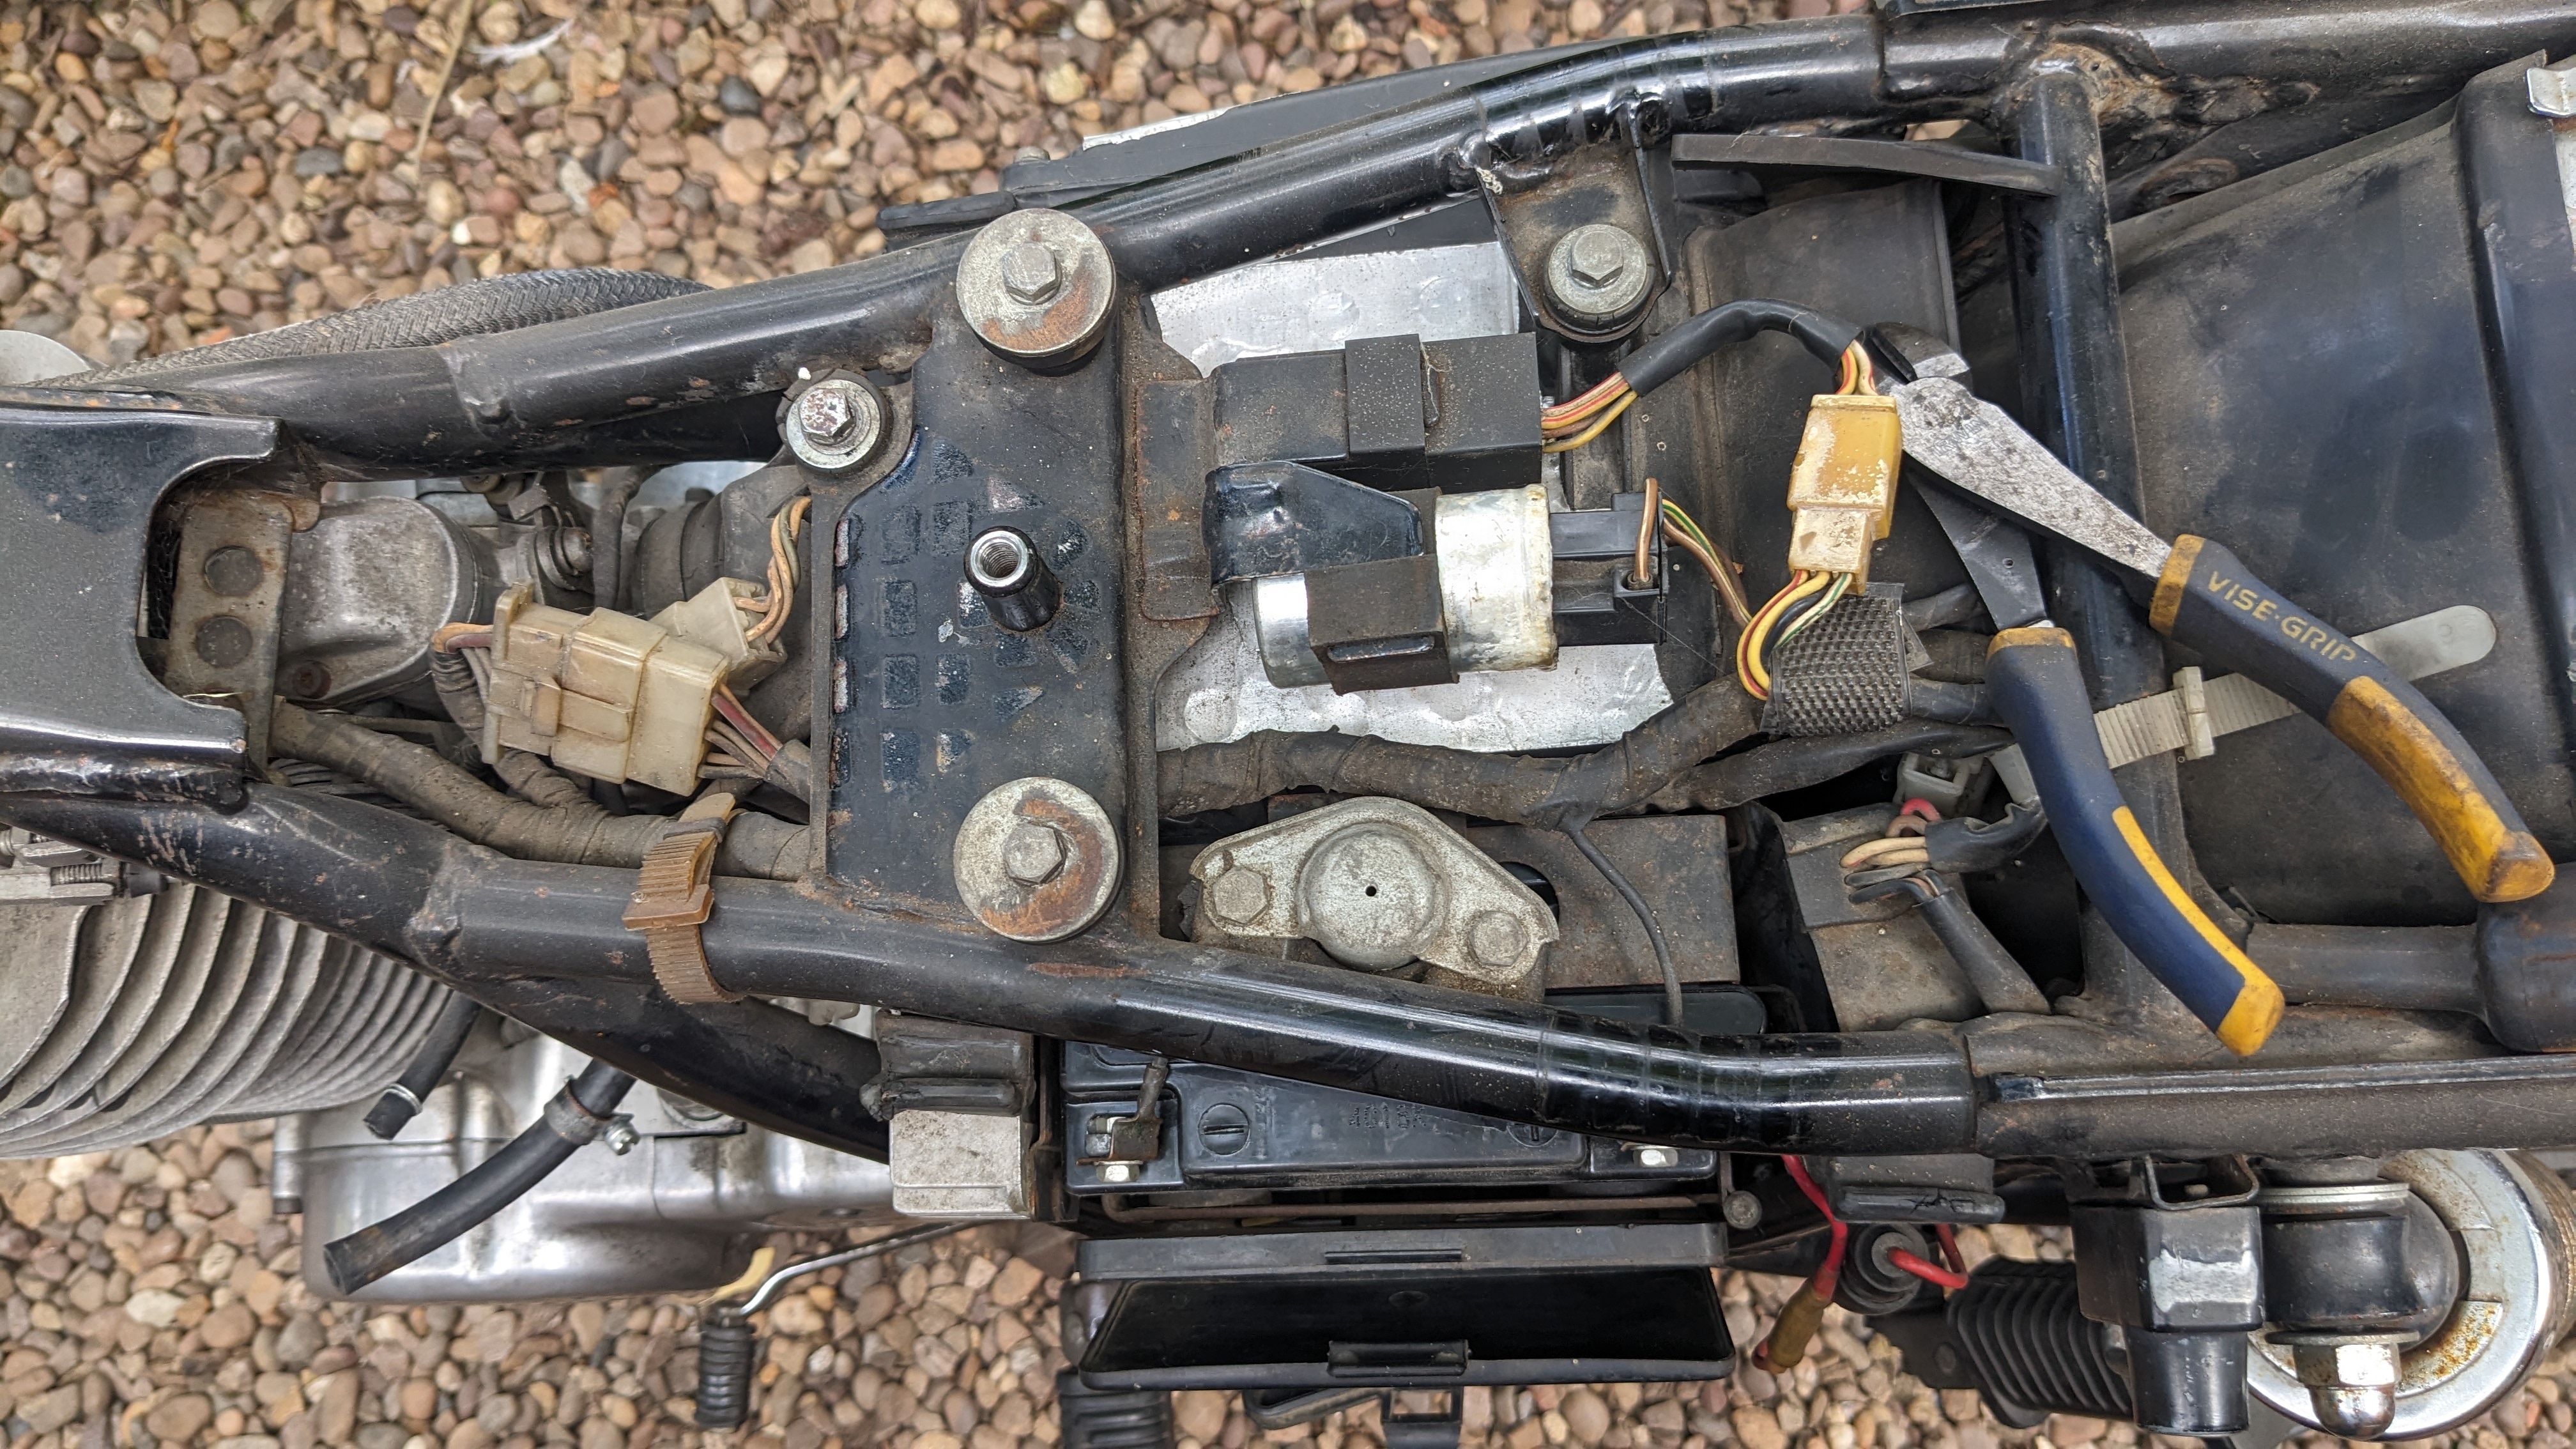
As with most bikes of this age that were dry stored, teardown was fairly straightforward, with the exception of a couple of seized screws that needed drilling out. There wern’t any nasty surprises hiding under the surface like bodged wiring or nasty cracks in the frame or engine cases, so that was a relief.
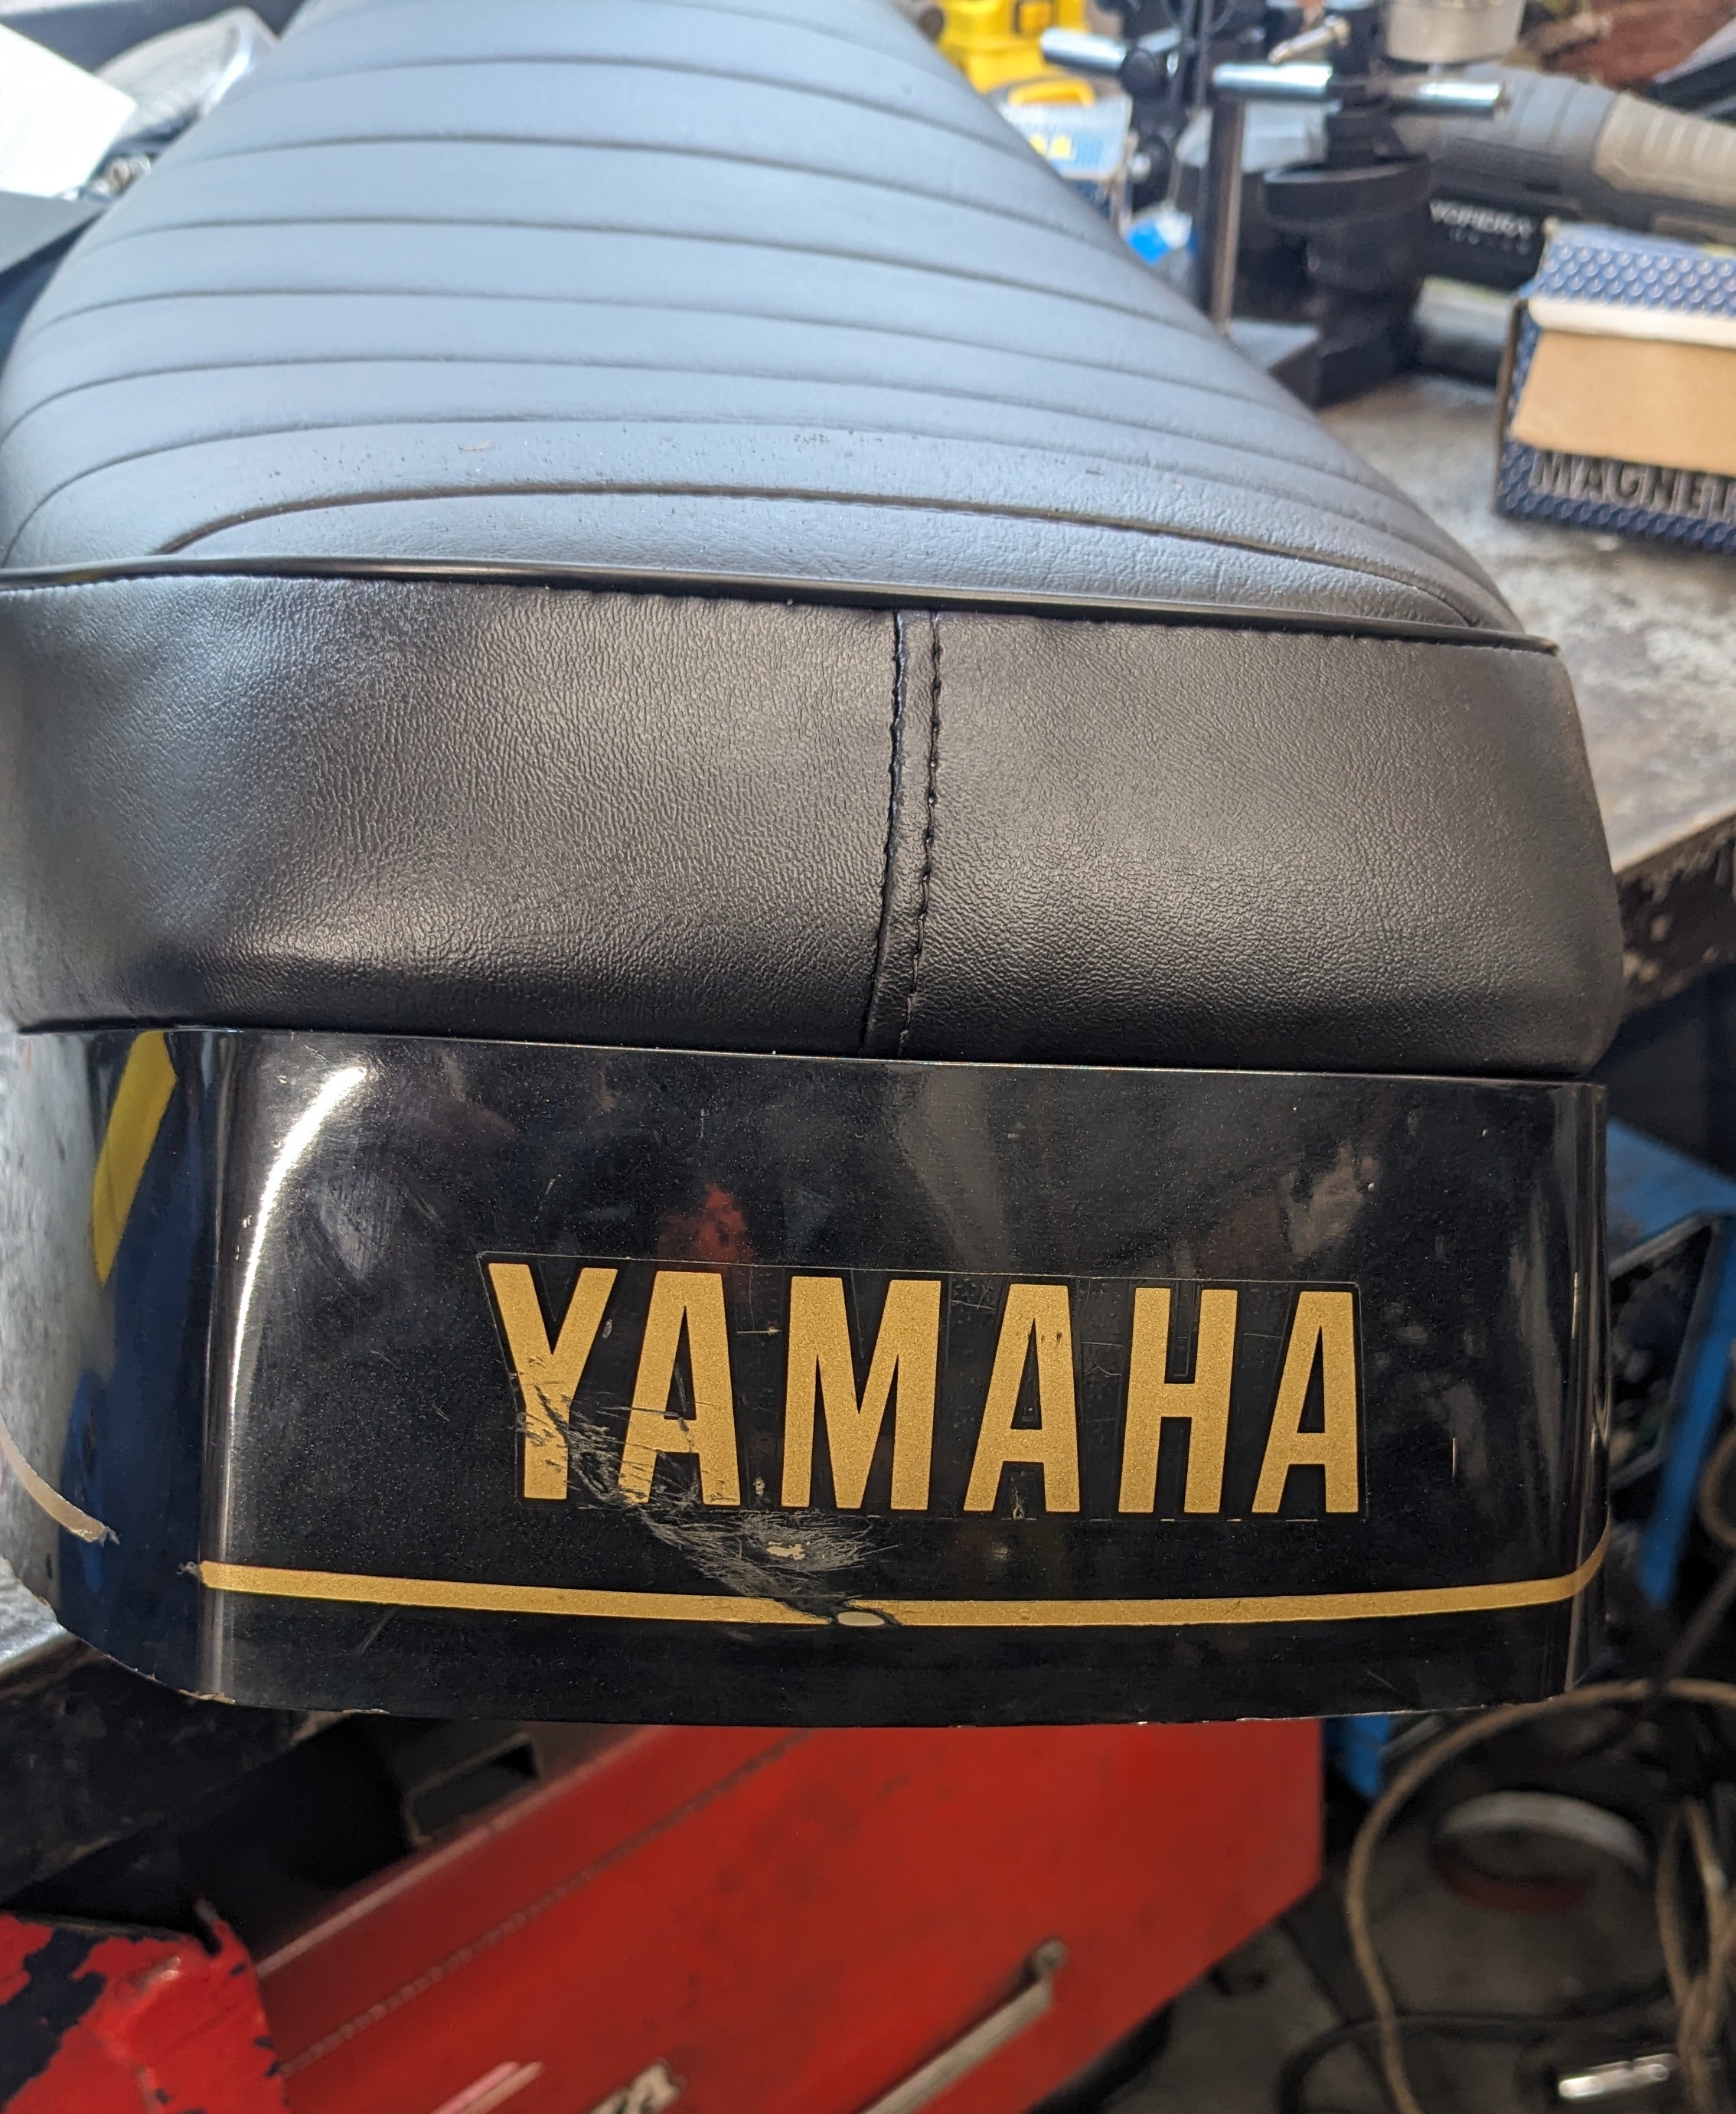
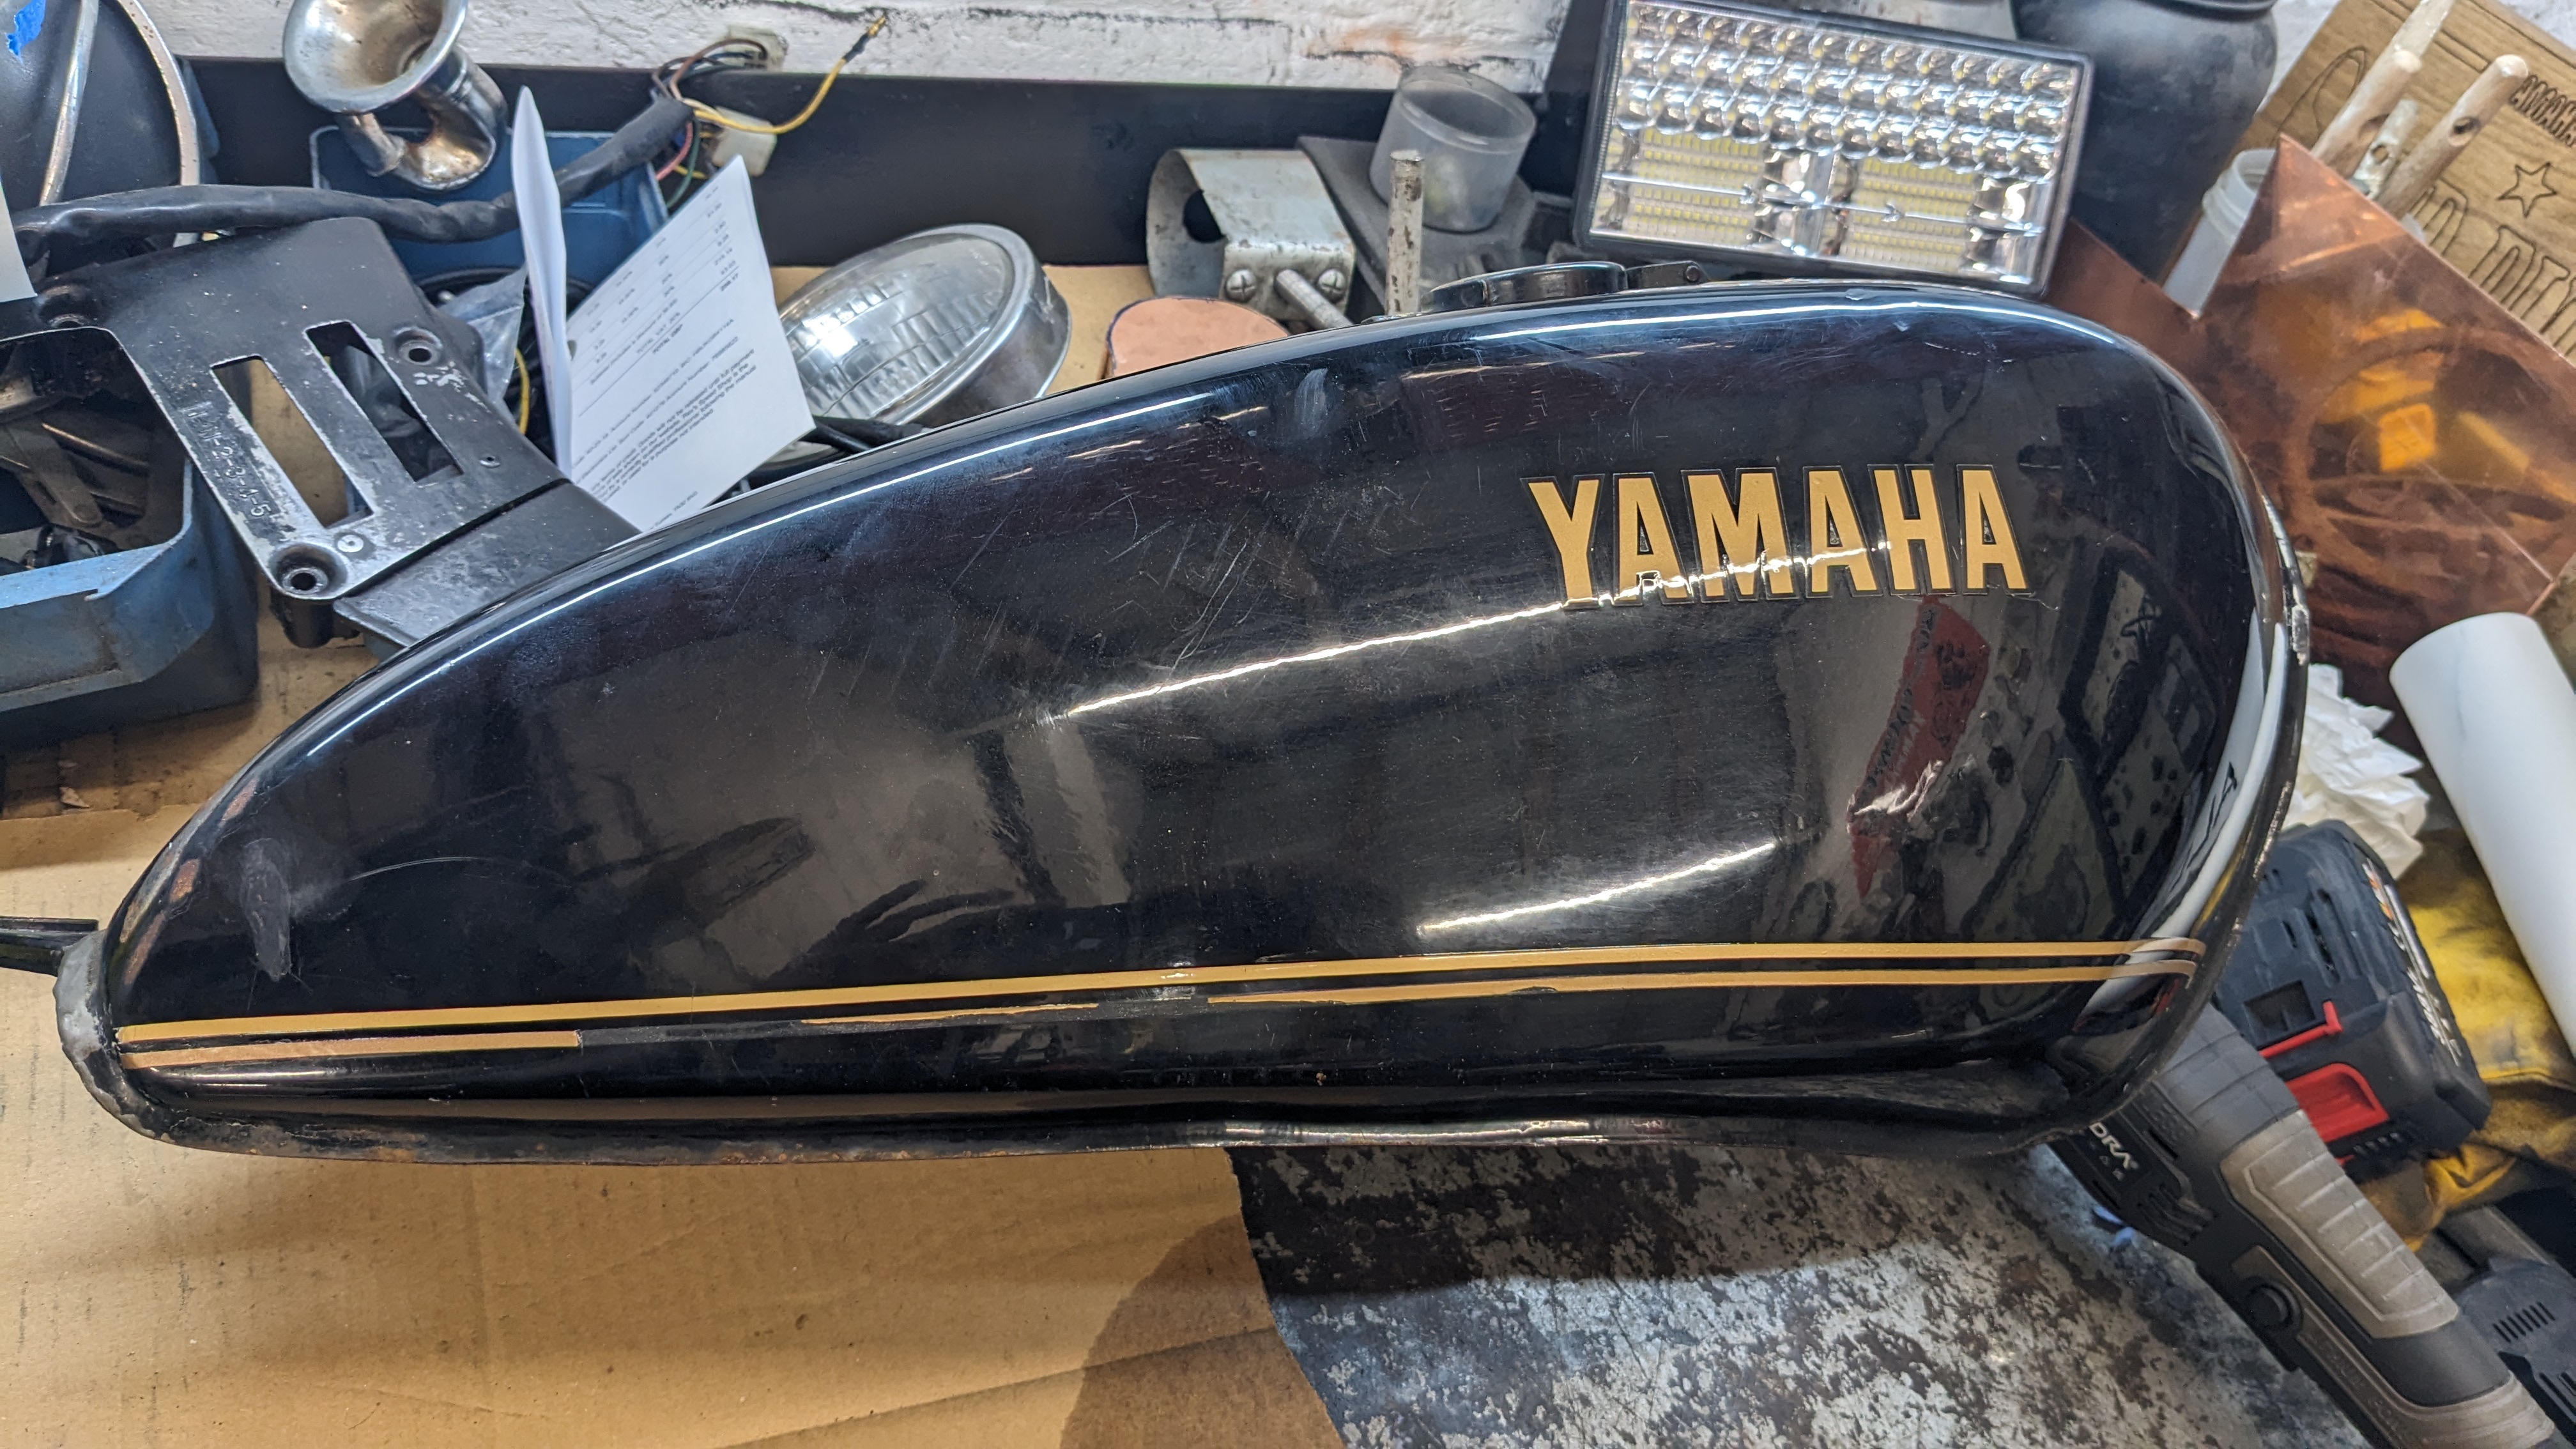
It was a bit of a tresure hunt finding replacement decals for the tank, side panels and rear seat cowl, some came from the States and some from Australia but after a few weeks of waiting it was all there.
The pinstripe took a couple of gambles to source the exact shade of gold right, but the correct one was Matte Gold. I also at first thought the tank was just gloss black, but upon closer inspection it was actually metallic, specifically Yamaha’s Black Gold Pearl which I found from RS Paints in the UK.
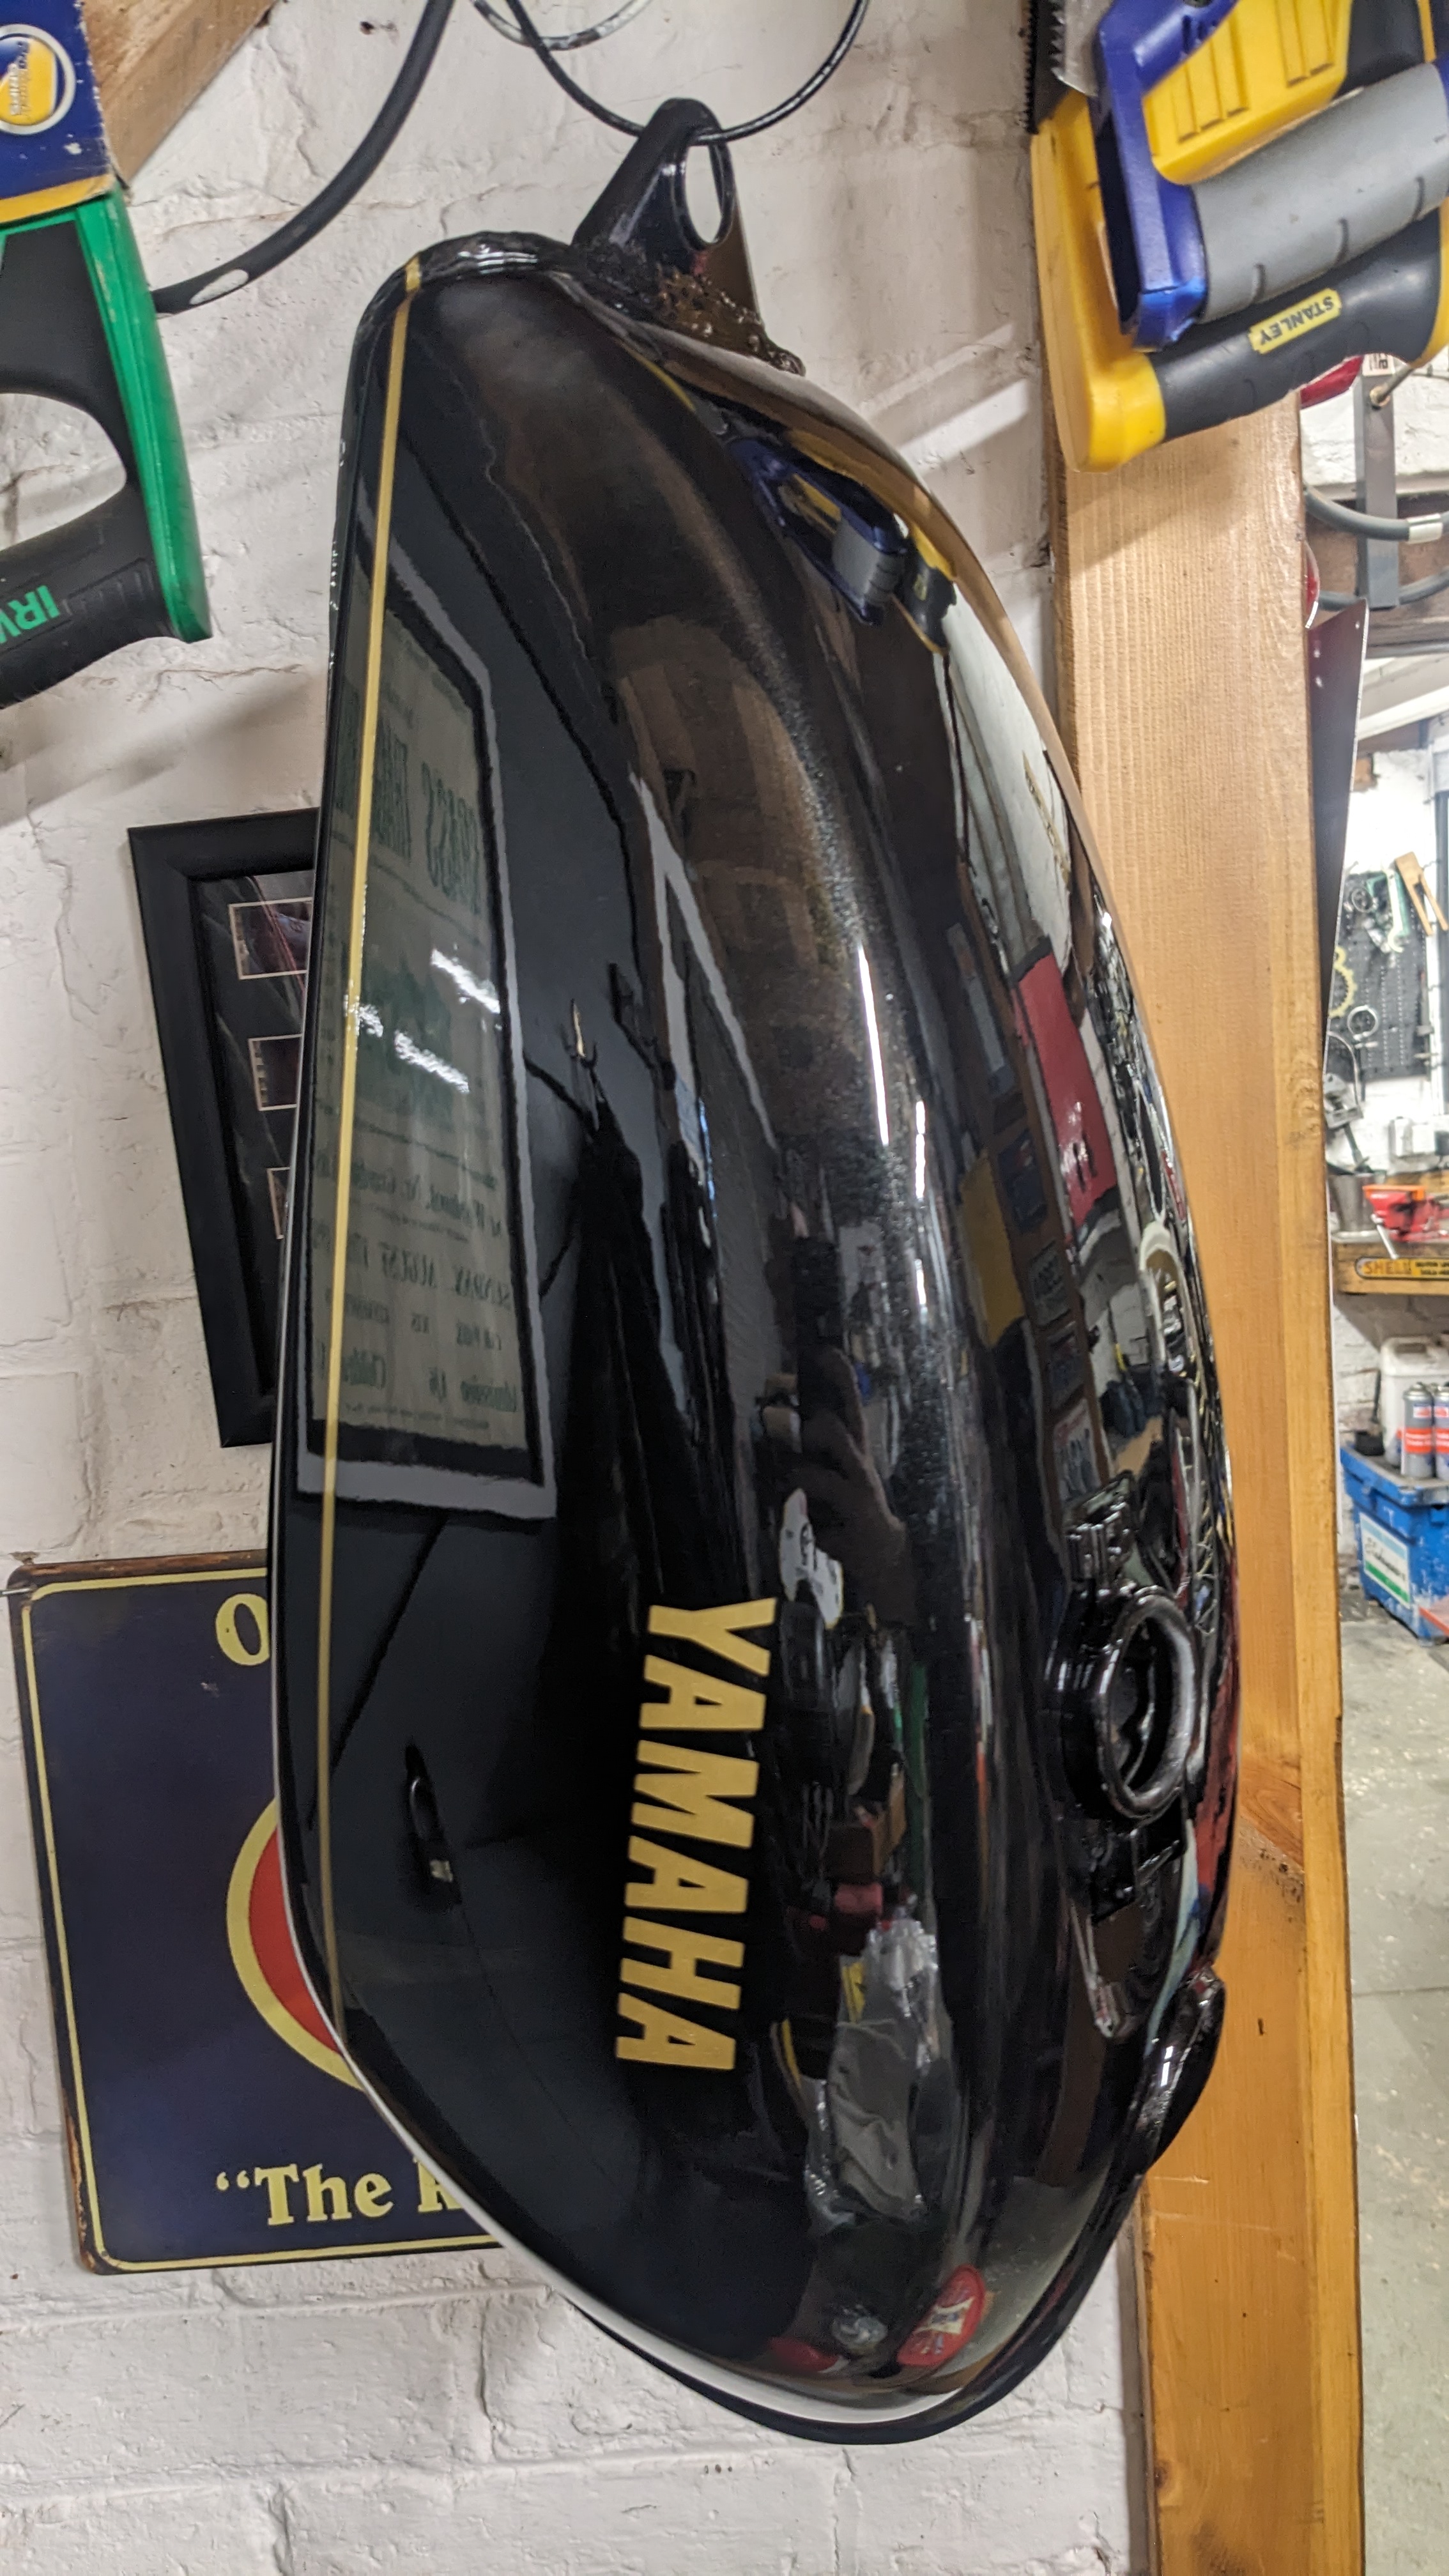
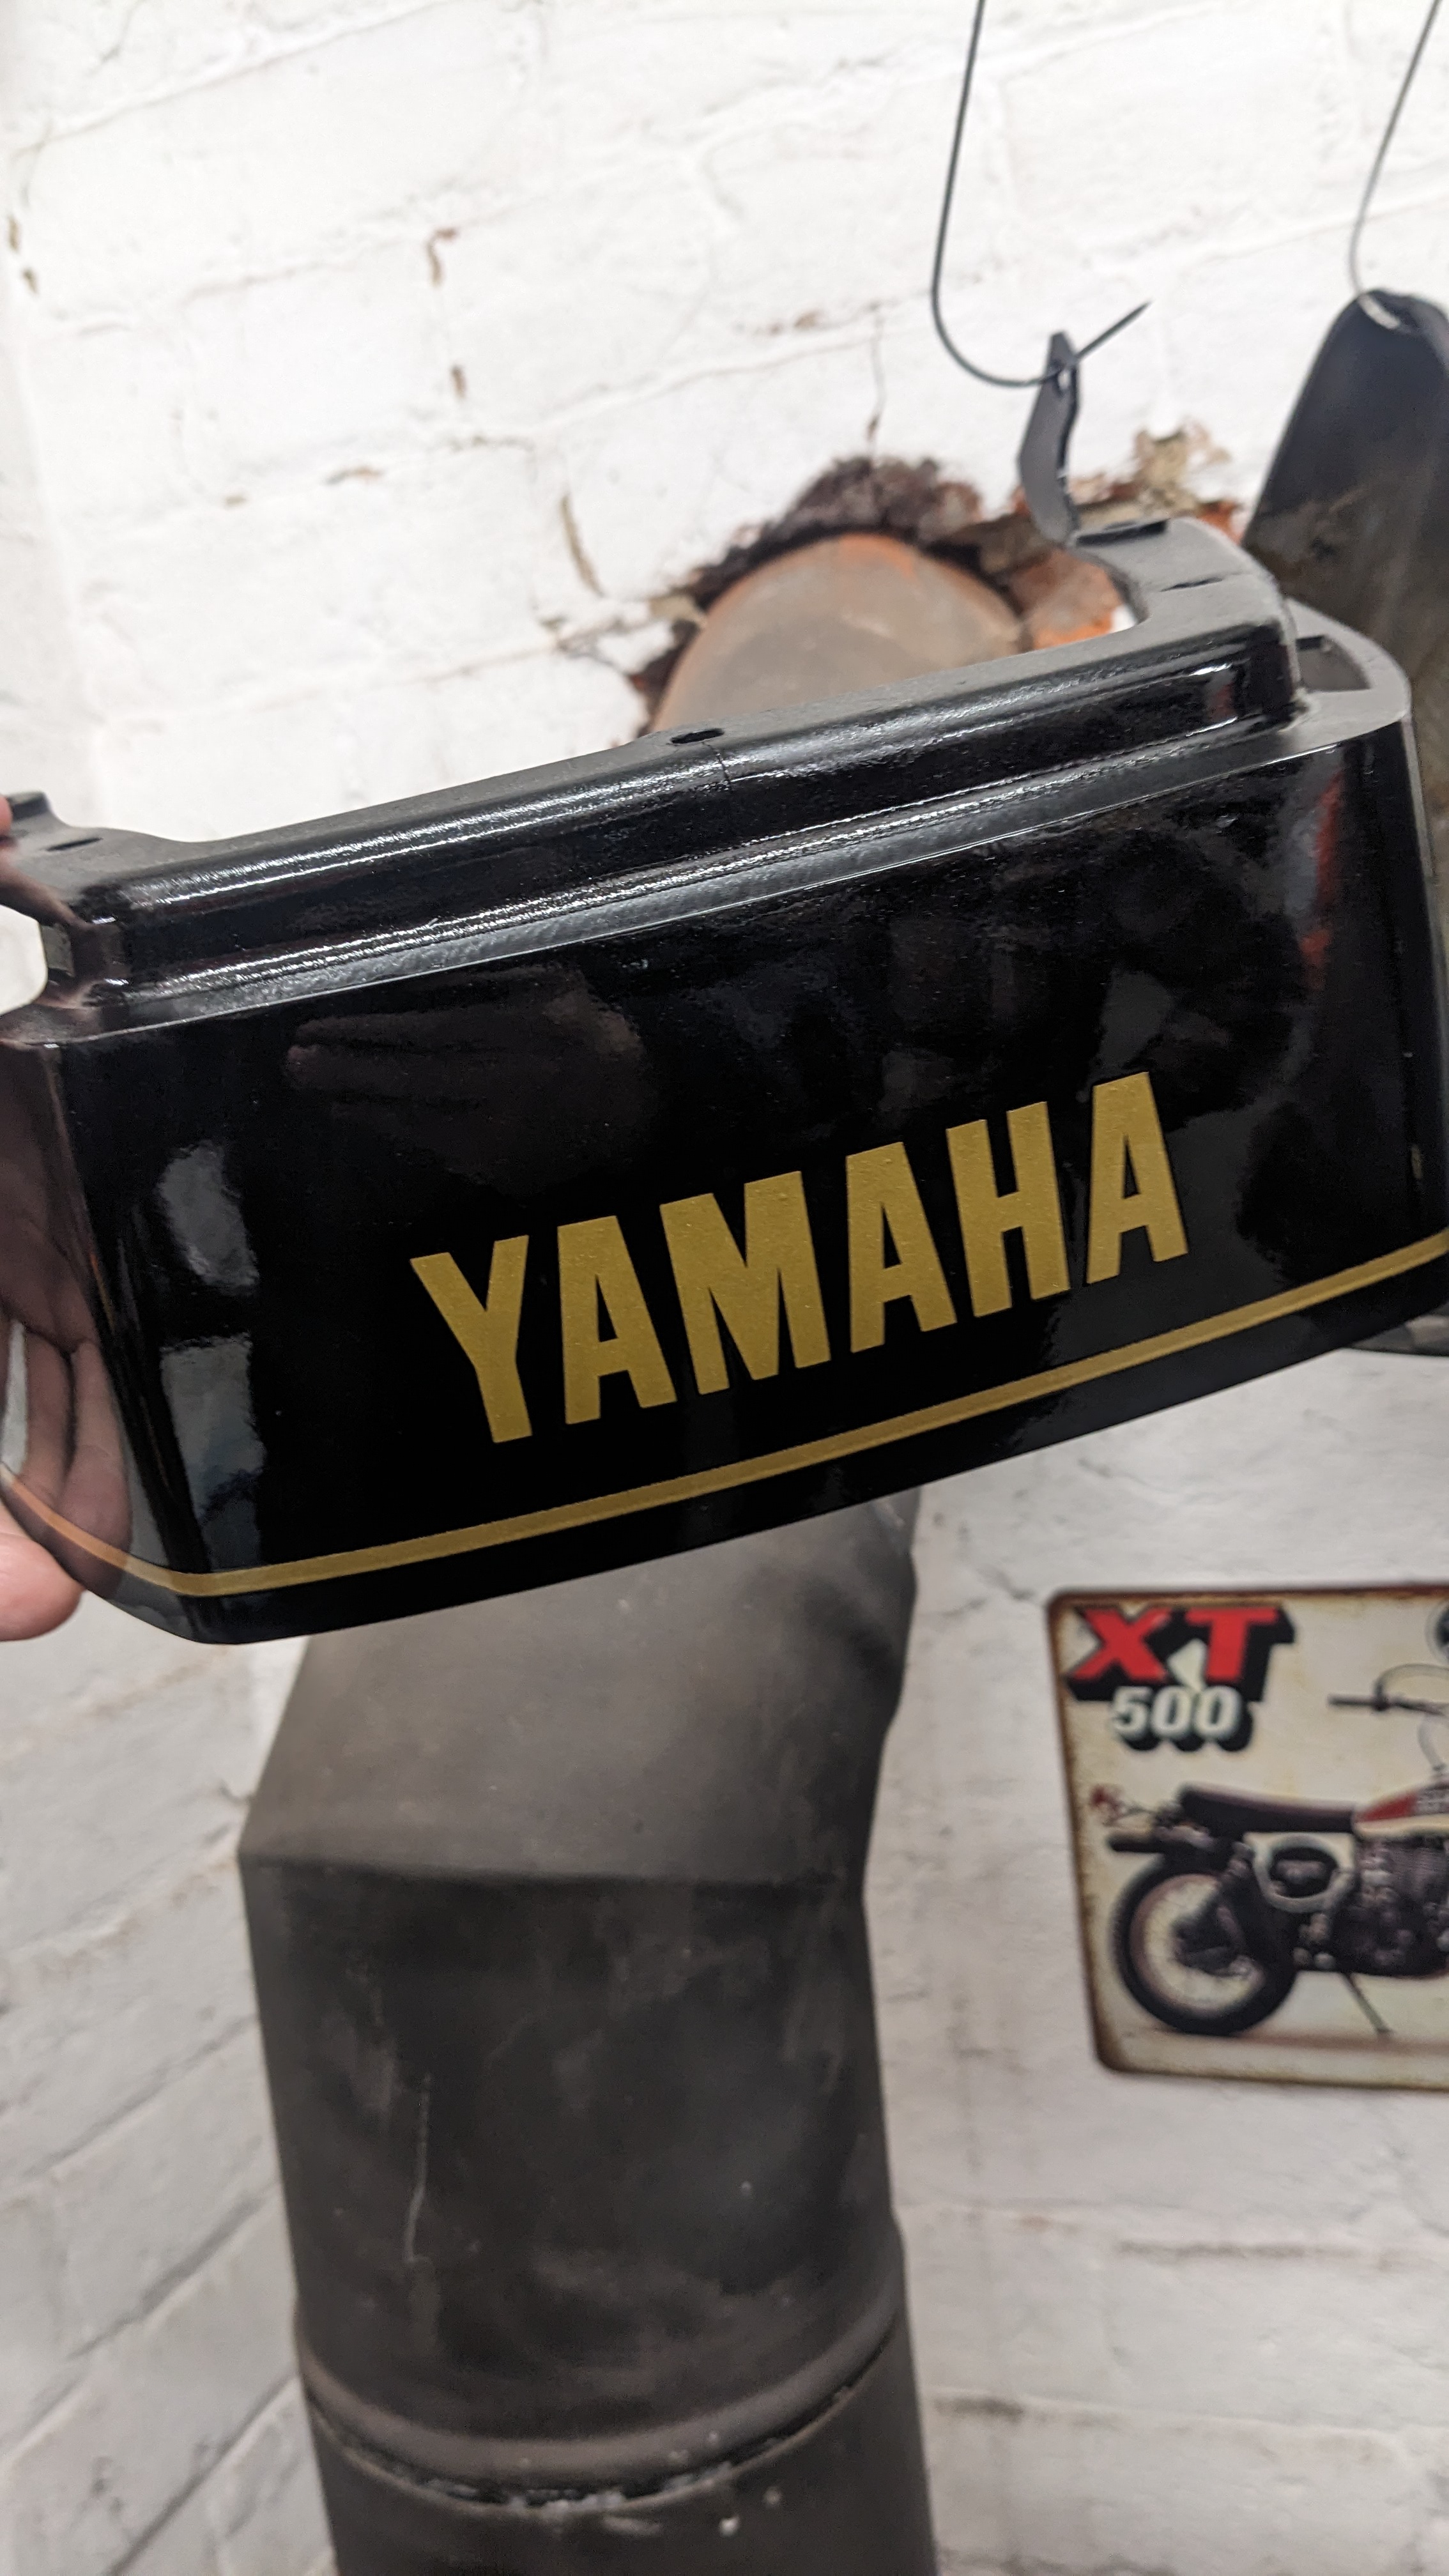
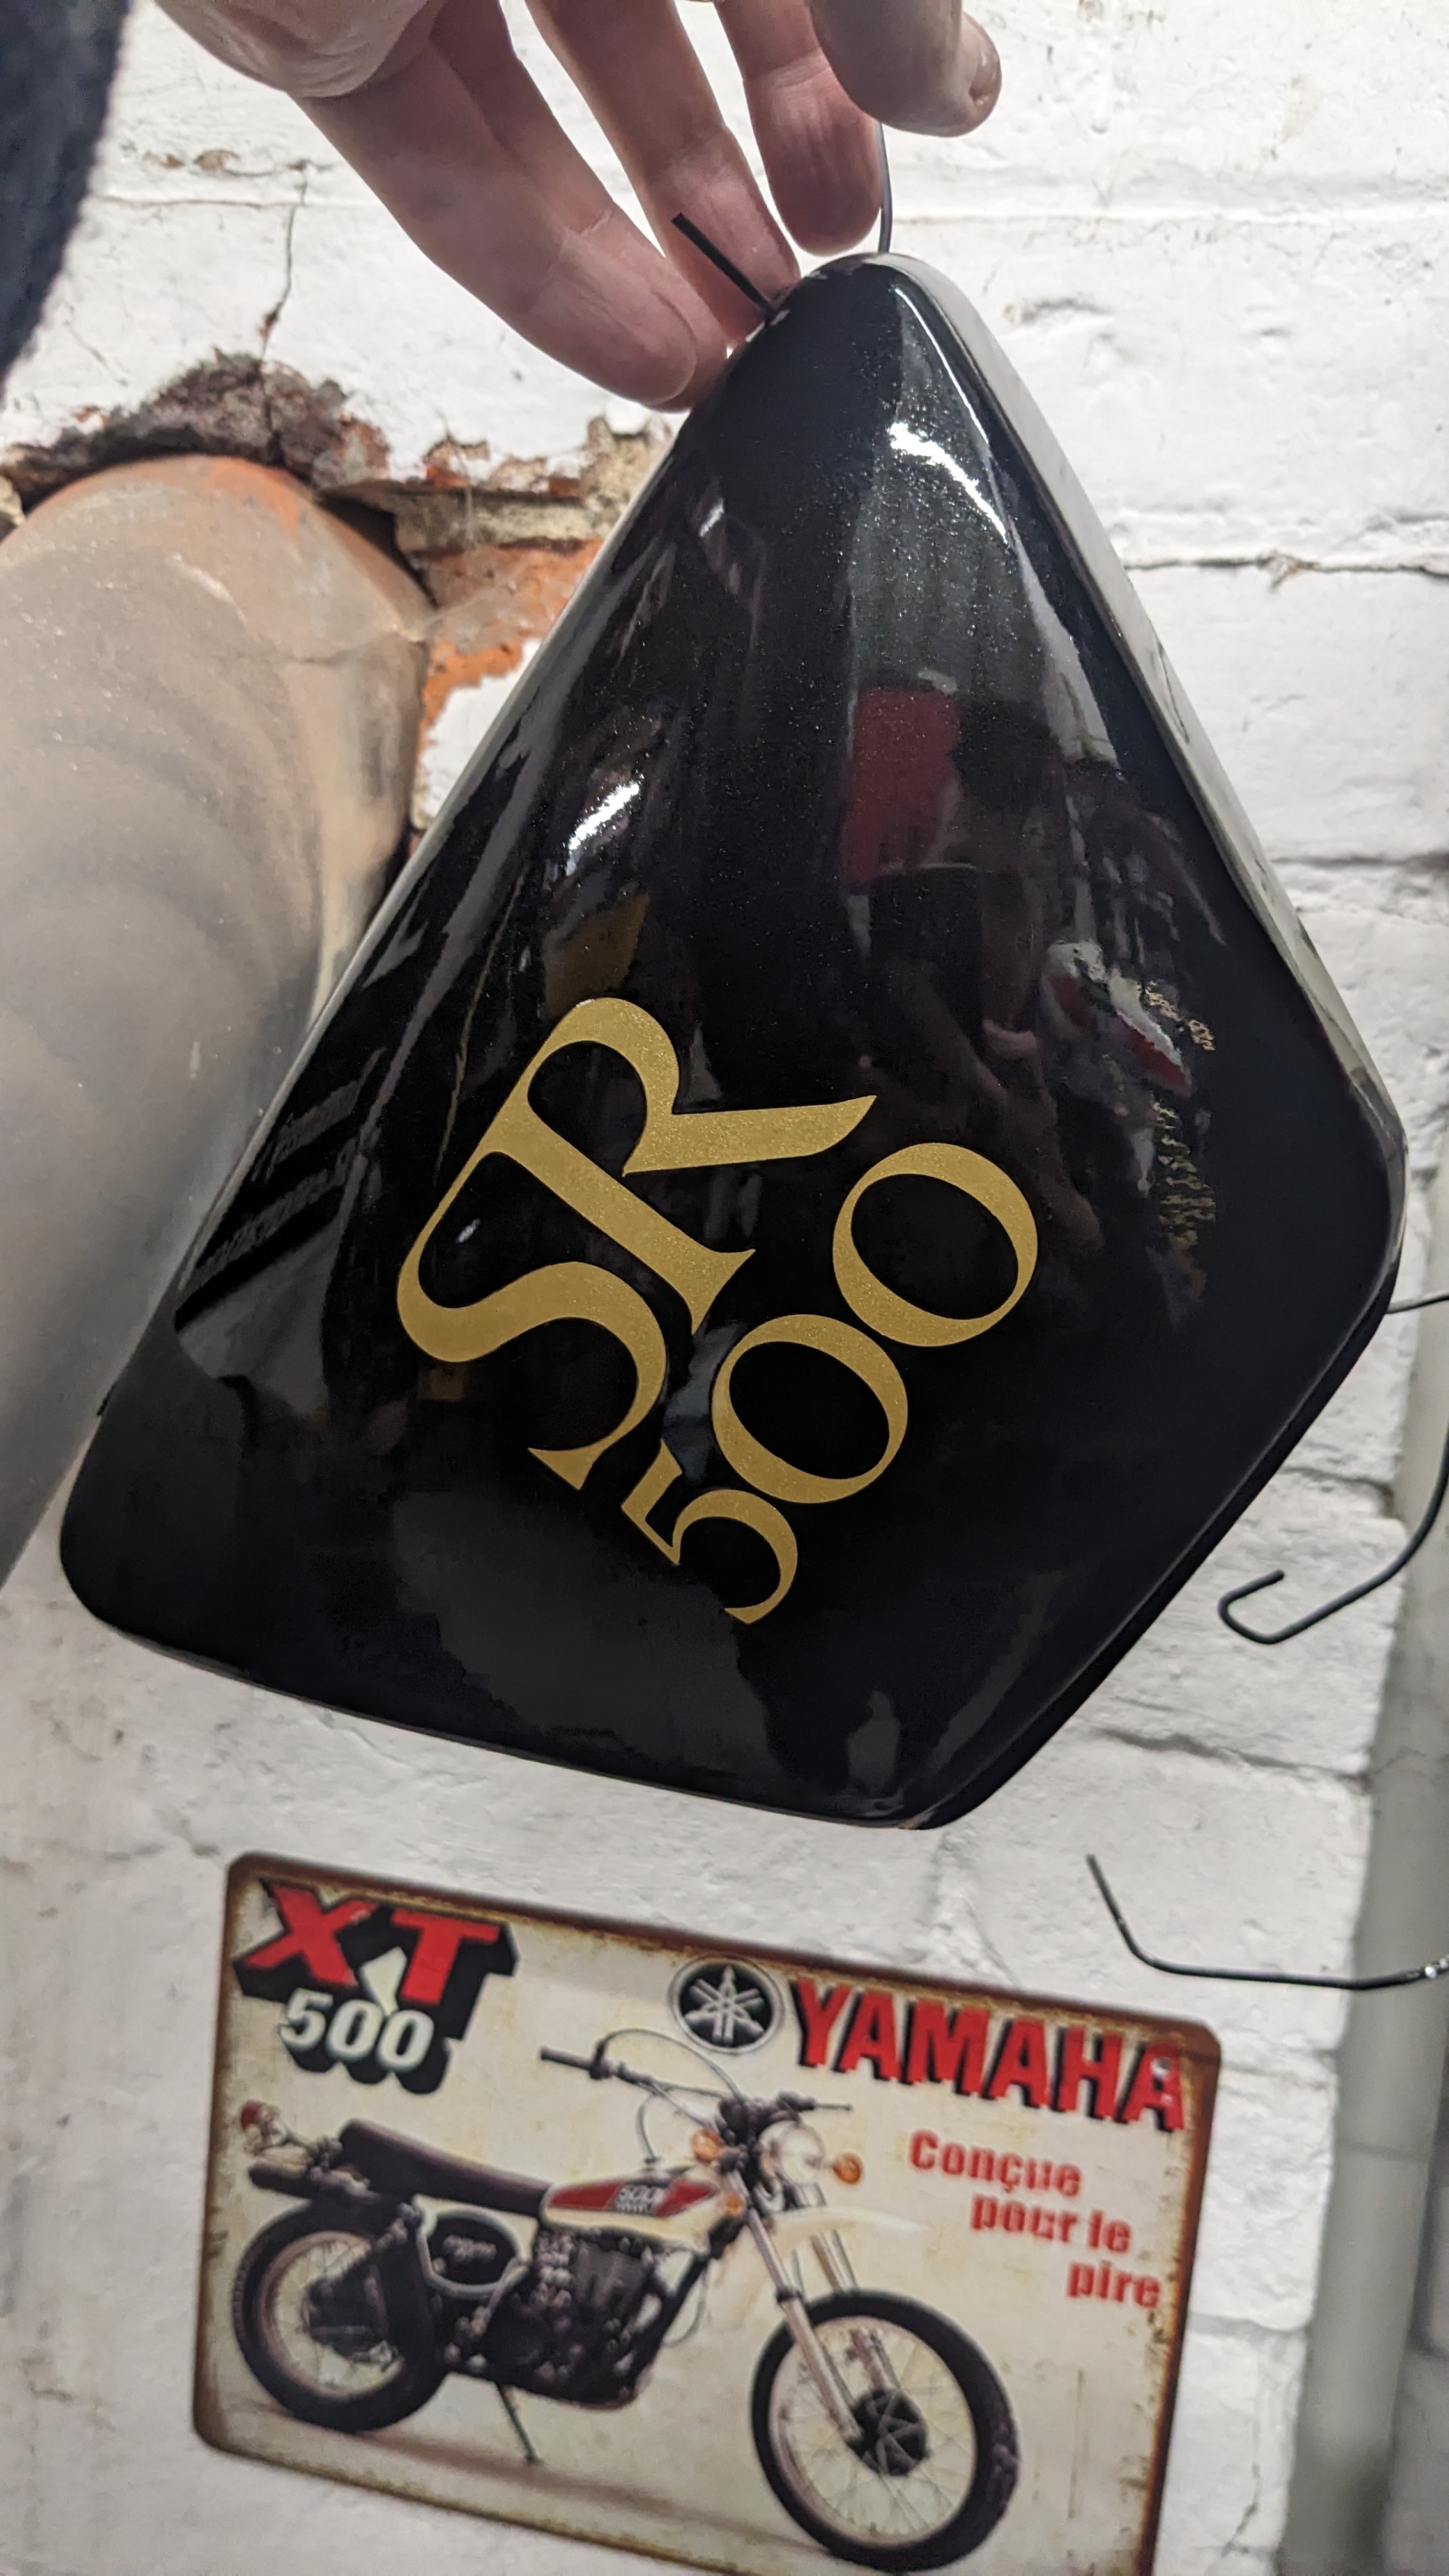
It took nearly three cans to do the tank, side panels and rear cowl, with plenty of wet sanding and polishing to get a good finish. You can see the rear cowling had a pretty significant scuff which was just filled and sanded back before painting.
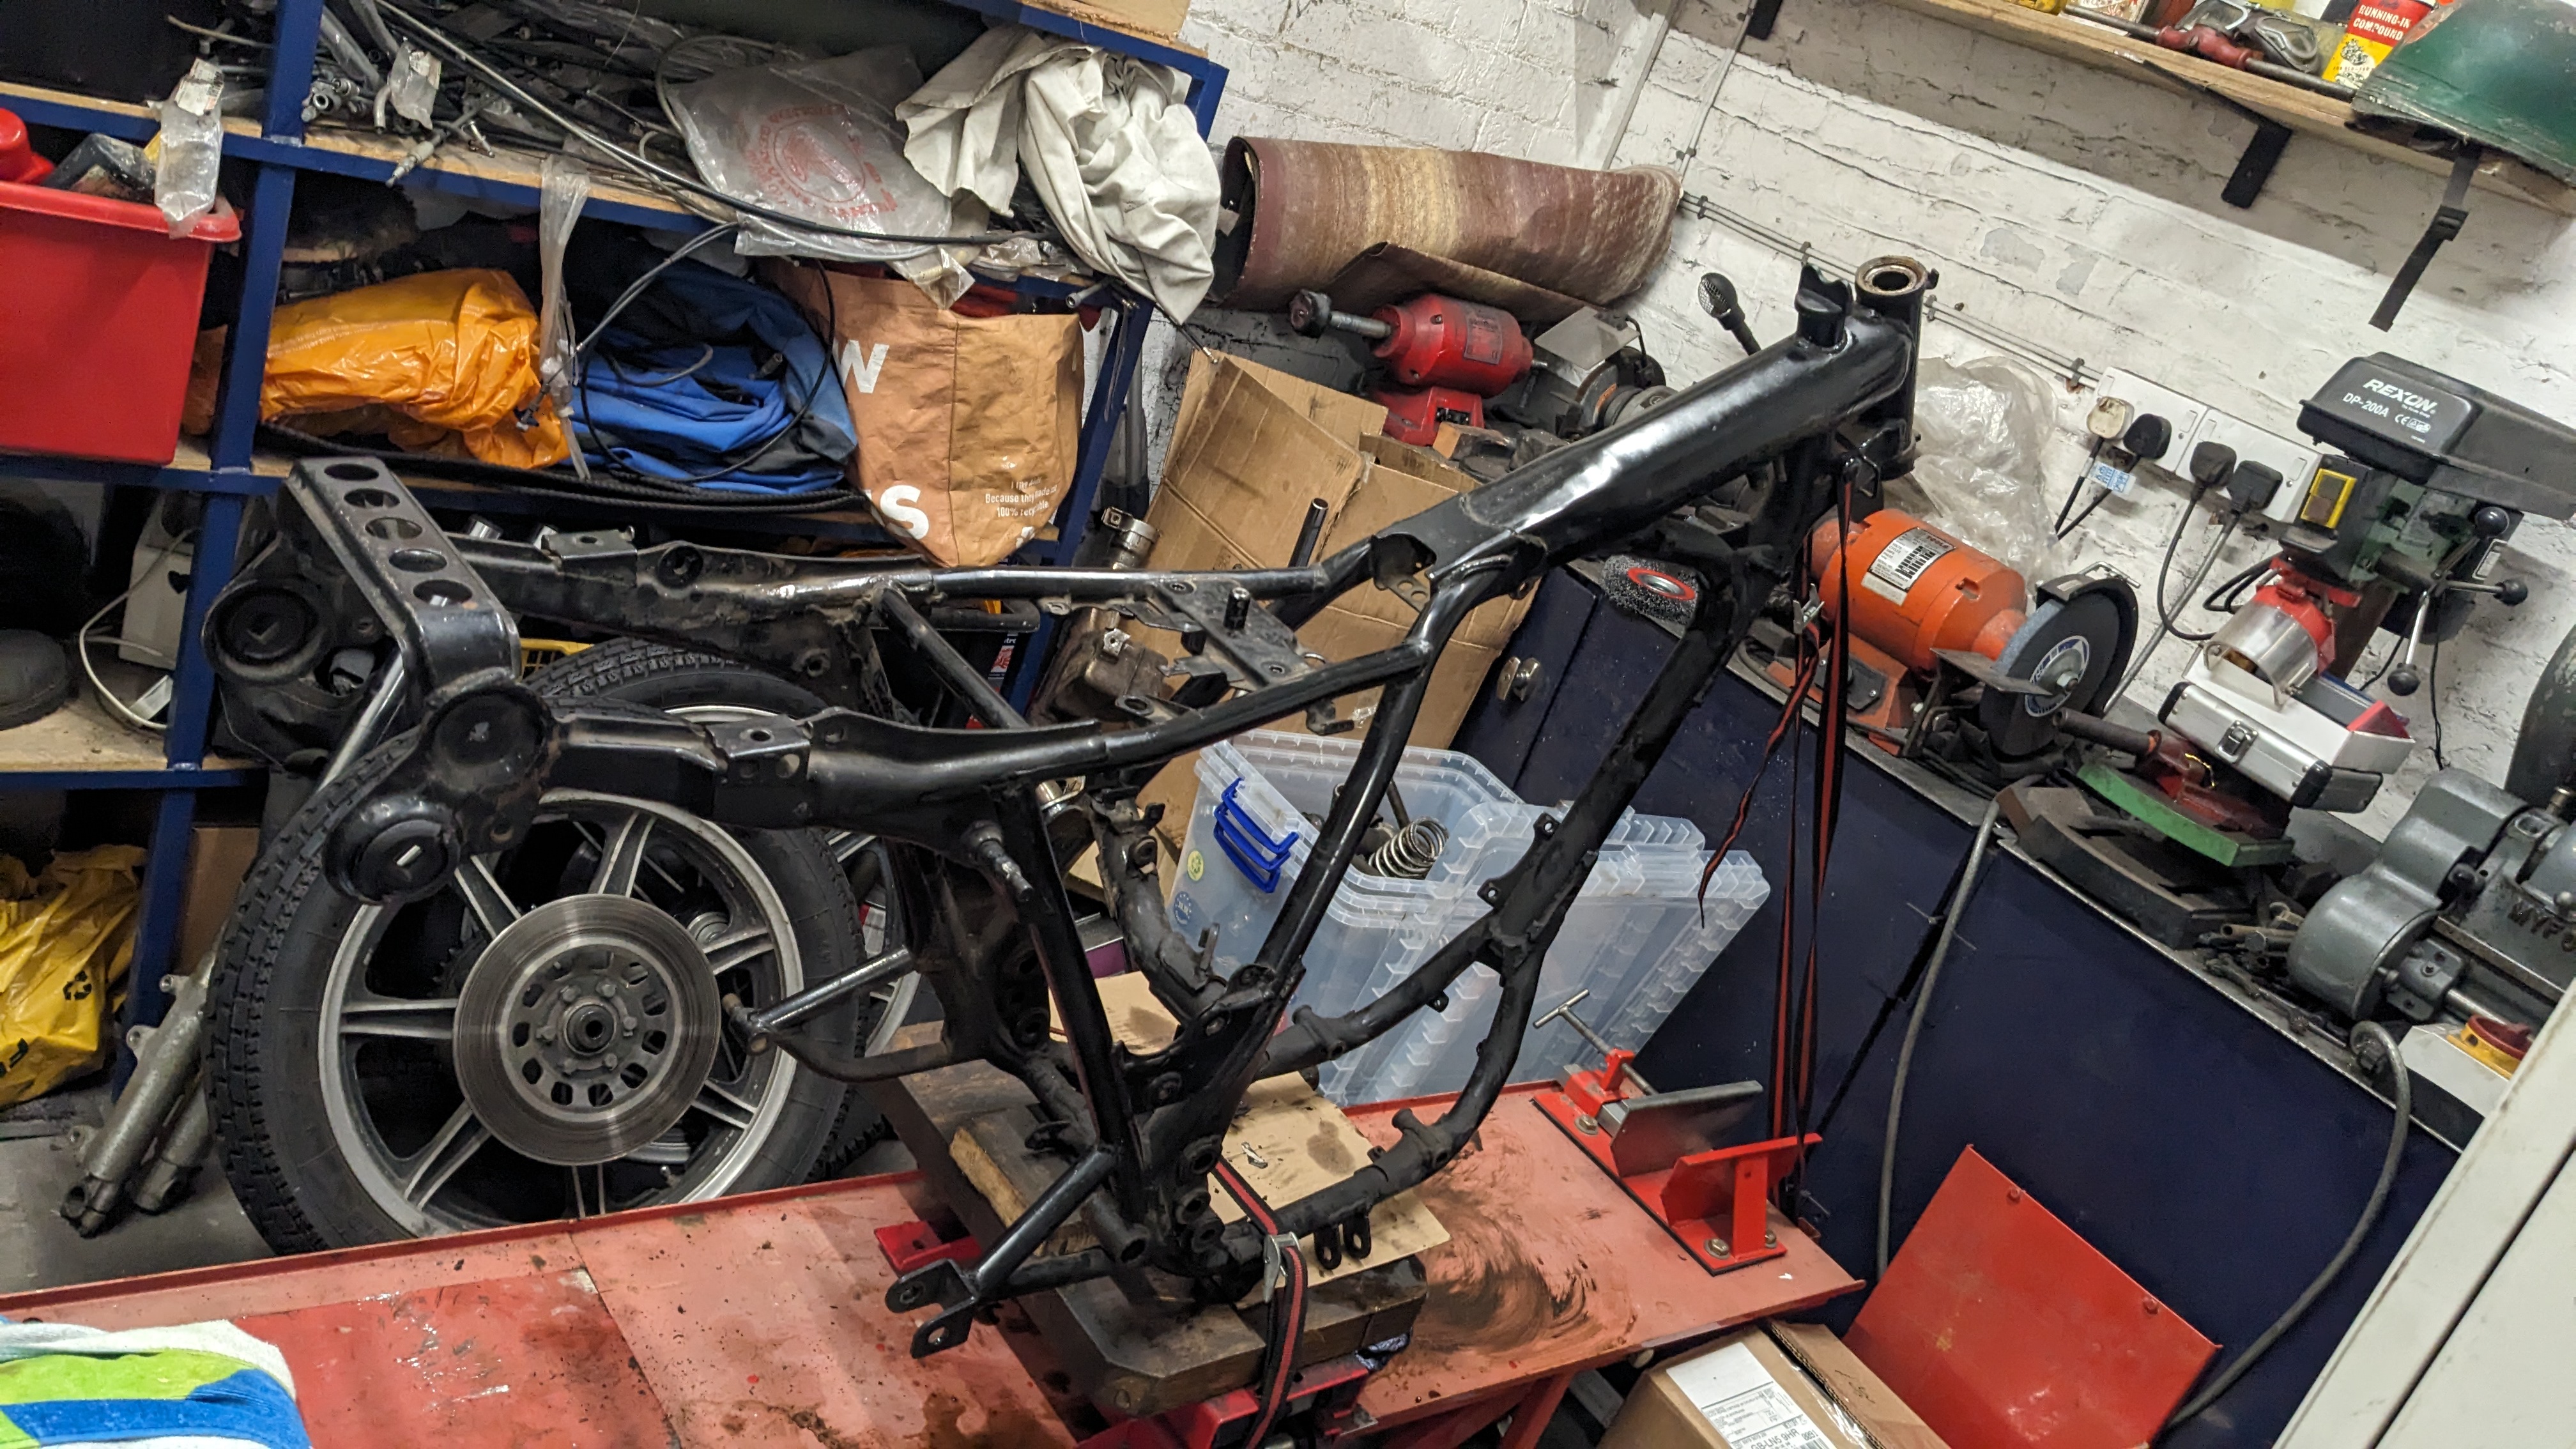
After removing everything from the frame, I could see that it wasn’t in too bad of a state, just a few bits of surface rust and some buildup of grease and dirt. After scrubbing it with a plastic brush and some lubricant I went over the rusty patches with a palm sander and some sandpaper to smooth everything back, I didn’t want to remove the factory paint so I just keyed it enough for the primer to stick to and degreased it all before painting.
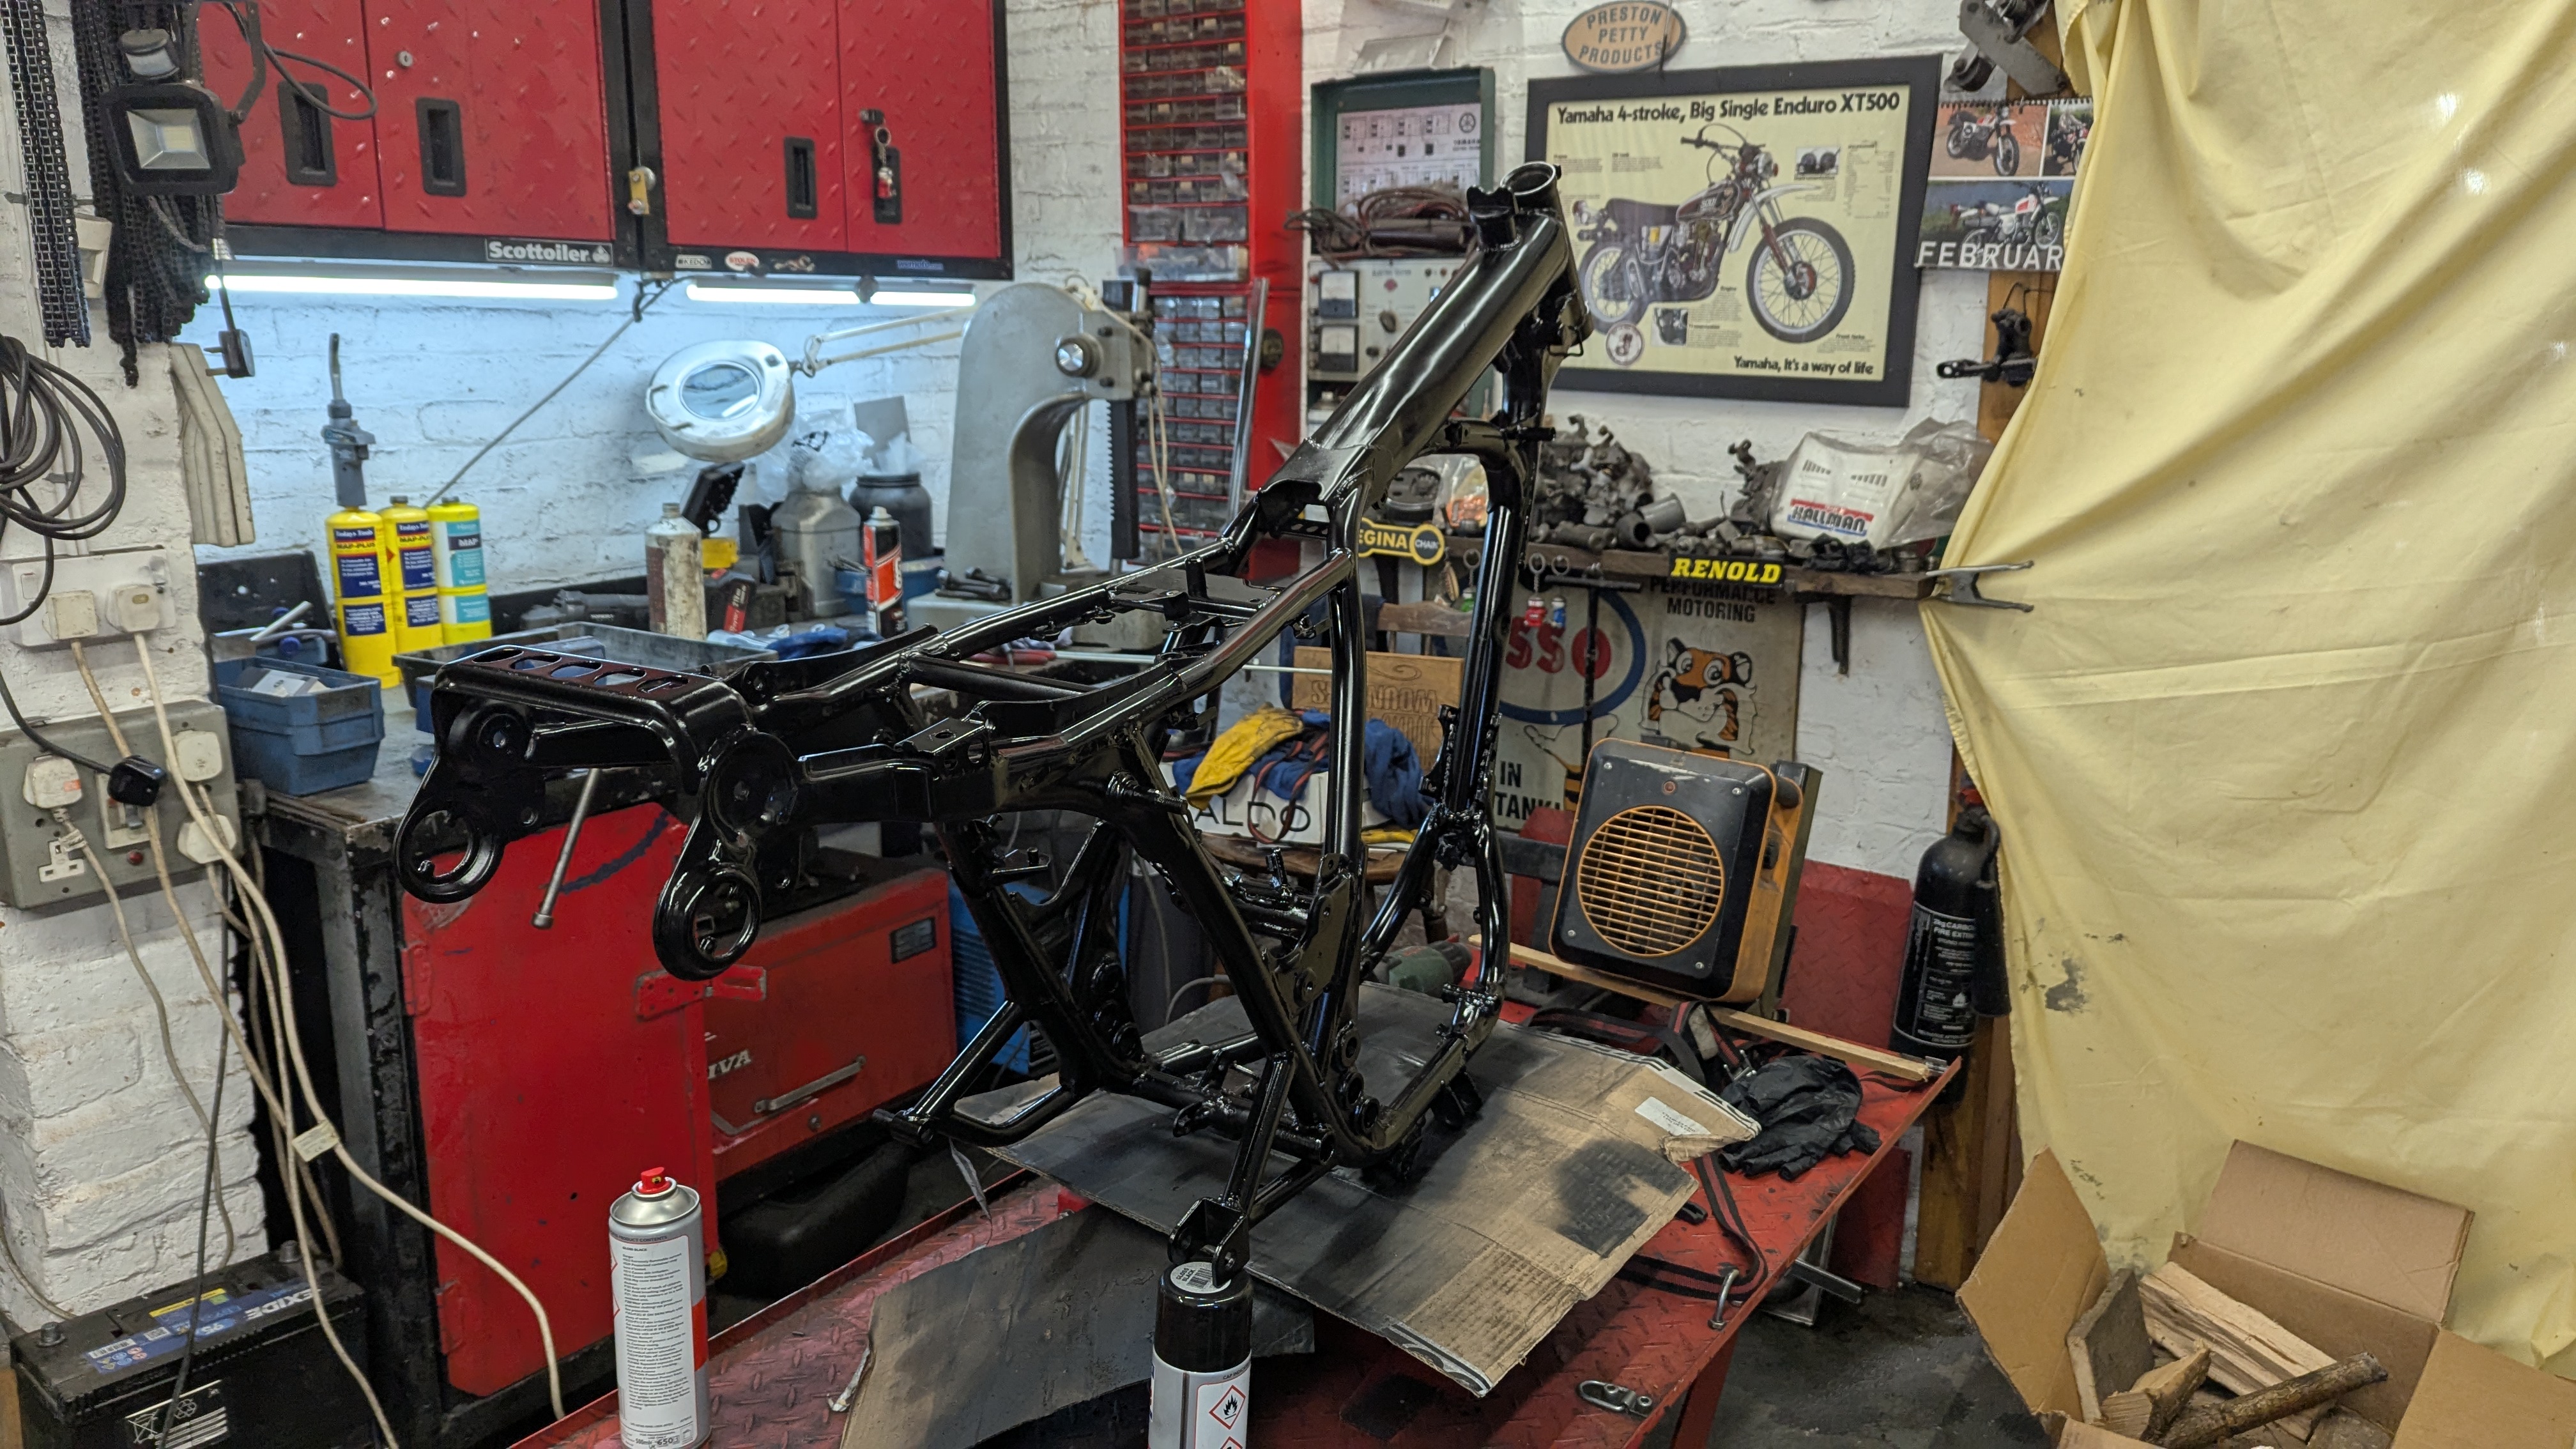
It’s currently extremely cold in the UK, so I had to set up a small heater as well as constantly go over the frame with a heat gun to keep the temperature up enough for the paint to cure properly. I went over first with a few coats of charcoal primer, then a few coats of gloss black top coat, which I think turned out pretty nice.
That’s it for Part 1 of the restoration, next up I’ll be showing all the shiny polished chrome, stripping the engine, and cleaning the airbox and carburator.